If you guys are new to Microsoft Fabric and wondering how to create something like AdventureWorks database in the sql server in the Fabric, this article is for you.
In Microsoft Fabric, there are two main storage options, they are Lakehouse and Warehouse. In this article, we will focus on Lakehouse.
- Create a Lakehouse if you do not already have an lakehouse.
- Select the workspace in which you would like to create this new lakehouse.
- Click On +New item button, it will open a new window. On the search option type Lakehouse.
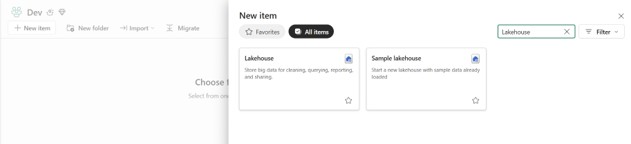
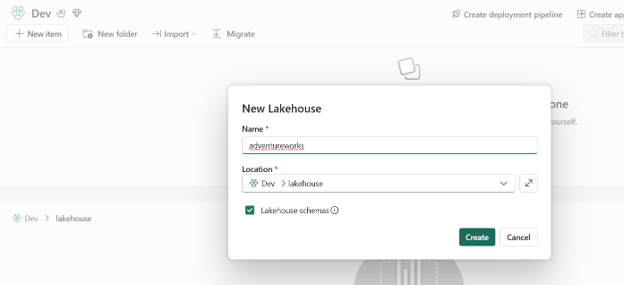
- Click on the Lakehouse option, it will open a new window and give it a name adventureworks and then click on create button, it will create a new lakehouse.
- Next step is to create a new notebook that will be used to populate the adventureworks lakehouse.
- Click on the +New item button. It will open a new window. On the search option type Notebook.
- Click on the Notebook button and then give it a name ‘load_adventureworks_notebook’ and click on create button.
- Once the notebook is created, the next step is to add the adventureworks lakehouse to the notebook.
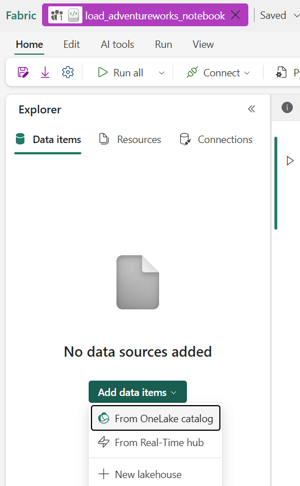
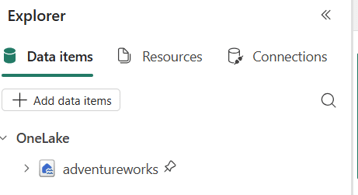
- Click on the Add data items button on the left side of the notebook and then select ‘From OneLake catalog’ option.
- A new window will open and all the lakehouse and their sql endpoint available in your OneLake Catalog will be available. Click on the adventureworks Lakehouse that you had created previously.
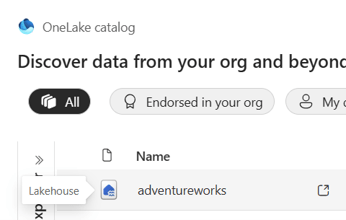
- You will see two different options they will look similar but make sure you click on the icon that says Lakehouse. You would be able to identify them by hovering over the icon as well.
- Click on the Add option once you select the adventureworks lakehouse.
- The adventureworks lakehouse is now added to your notebook and it would be your default lakehouse as well if you do not have any other lakehouse added to the notebook.
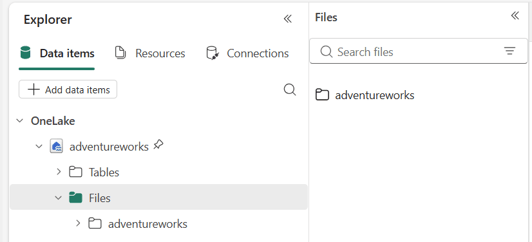
- Next step is to create a subfolder in the Files section of the lakehouse.
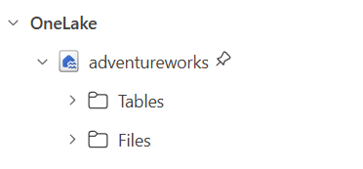
- Expand the lakehouse to view Tables and Files section.
- Click on the Files section and then on the three dots at the right side of the files section. It will open a new tab and then click on the New subfolder option and give the name adventureworks.

- You can minimize the Files explorer option by collapsing it.
- Create a new session by clicking on connect button and then + New standard session. It will create a new session for the notebook. You will see the Green dot Standard session once the session has been started.
- Copy and paste the following code in the empty cell and run the cell block. The code is reading the csv files from the given github url link using get method and saving it in the adventureworks subfolder of the adventureworks lakehouse.
- Shout out to KratosDataGod Chris Wagner for creating those csv files.
import requestsimport osimport json from pathlib import Path# --------------## CONFIGURATION# -------------#owner = "KratosDataGod"repo = "FabricAdventureWorksLakehouse"branch = "main"folder_path = "AdventureWorks"# Lakehouse Files destinationlakehouse_path = "/lakehouse/default/Files/adventureworks"# STEP 1: GET FILE LIST FROM GITHUBapi_url = f"https://api.github.com/repos/{owner}/{repo}/contents/{folder_path}"response = requests.get(api_url)if response.status_code != 200: raise Exception(f"Failed to fetch file list: {response.status_code}")files = response.json()# ------------------------## STEP 2: FILTER CSV FILES# ------------------------#csv_files = [file for file in files if file["name"].endswith(".csv")]print(f"Found {len(csv_files)} CSV files")# -----------------------------## STEP 3: DOWNLOAD & SAVE FILES# -----------------------------#for file in csv_files: file_name = file["name"] download_url = file["download_url"] print(f"Downloading: {file_name}") r = requests.get(download_url) if r.status_code == 200: file_path = os.path.join(lakehouse_path, file_name) with open(file_path, "wb") as f: f.write(r.content) print(f"Saved to: {file_path}") else: print(f"Failed: {file_name}")
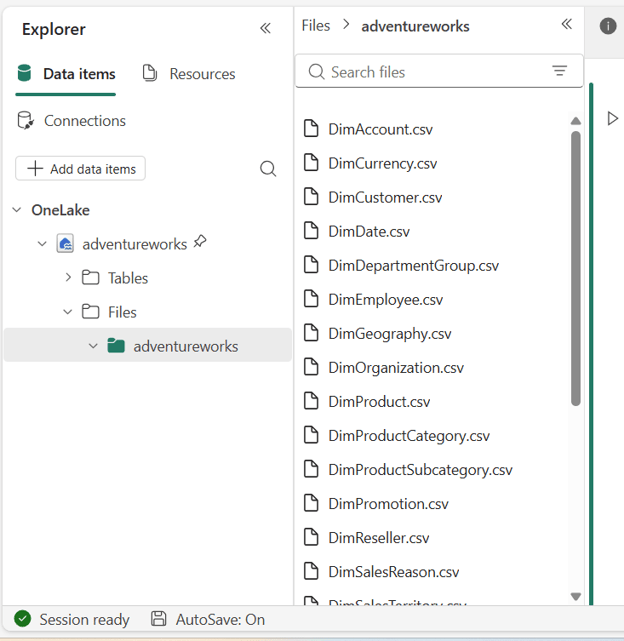
- Once the cell block completes the run. Click on the expand explorer option for the adventureworks subfolder to view all the csv files.
- Scroll down in the notebook and create another cell block and paste this given code.
base_path = "Files/adventureworks"files = mssparkutils.fs.ls(base_path)csv_files = [file.path for file in files if file.path.endswith(".csv")]print(f"Found {len(csv_files)} CSV files")# Create schemasspark.sql("CREATE SCHEMA IF NOT EXISTS dim")spark.sql("CREATE SCHEMA IF NOT EXISTS fact")spark.sql("CREATE SCHEMA IF NOT EXISTS dbo")# Function to detect delimiterdef detect_delimiter(file_path): sample = spark.read.text(file_path).limit(1).collect()[0][0] if "|" in sample: return "|" else: return ","# Process filesfor file_path in csv_files: file_name = file_path.split("/")[-1] table_name = Path(file_name).stem.lower() print(f"Processing: {file_name}") # Detect delimiter delimiter = detect_delimiter(file_path) print(f"Detected delimiter: {delimiter}") # Assign schema if table_name.startswith("dim"): schema_name = "dim" elif table_name.startswith("fact"): schema_name = "fact" else: schema_name = "dbo" # Read file with correct delimiter df = spark.read \ .option("header", "true") \ .option("inferSchema", "true") \ .option("delimiter", delimiter) \ .csv(file_path) # Clean column names (IMPORTANT) df = df.toDF(*[col.replace(" ", "_").lower() for col in df.columns]) # Write as Delta table df.write \ .mode("overwrite") \ .format("delta") \ .saveAsTable(f"{schema_name}.{table_name}") print(f" Created table: {schema_name}.{table_name}")print(" All tables created successfully")
- Run the cell block. Once the cell block completes the running, you would be able to see all the tables created in their appropriate schema.
- Refresh the Tables section and check the new tables.
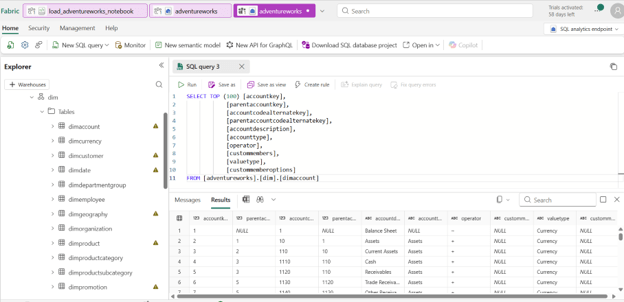
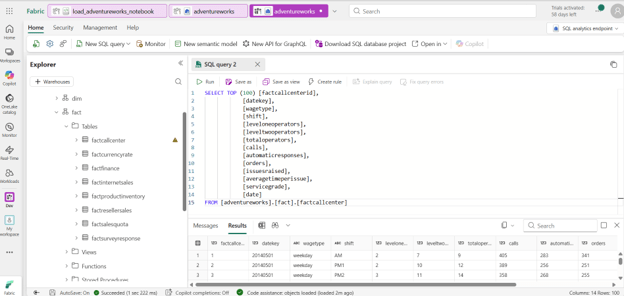
- You can also view all the tables in the Sql Analytics Endpoint of the lakehouse.
REFERENCE:
https://github.com/KratosDataGod/FabricAdventureWorksLakehouse/tree/main
Publisher: Janak Mali
Disclaimer: The author is not responsible for errors, omissions, or the accuracy, completeness, or suitability of the information provided. Use them freely with attribution. The website is not officially affiliated with Microsoft Corporation or any of its subsidiaries. All trademarks, logos and brand names are property of their respective owners.

Leave a comment